How to Choose Binoculars
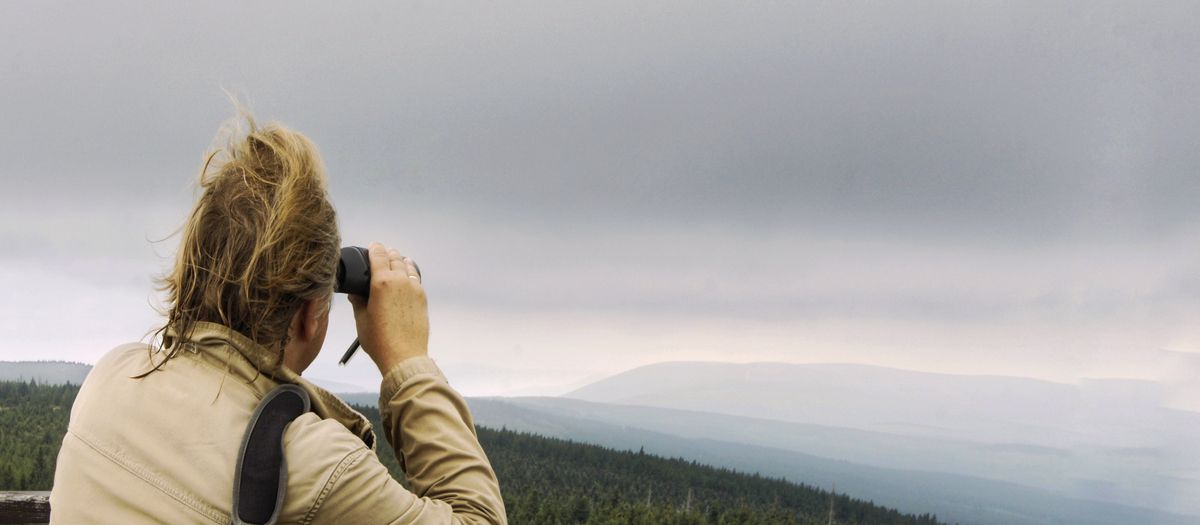
The right pair of binoculars is the one matched to your view — not the one with the biggest number on the box. This guide walks every decision in the order it actually matters: what the two numbers mean, exit pupil and twilight factor, field of view, why 8×42 is the do-everything default, roof versus porro, and weight and stability. Read it once and you will buy better than most people who have owned three pairs. Whether you are sizing up binoculars for stargazing or just want to know what the numbers on binoculars mean, start here.
A quick word on how I write here. I'm Dana, the founder of BinoMatch. I started at a backyard feeder outside Asheville, North Carolina — hooked on warblers and a red-shouldered hawk that kept coming back — and went looking for a "better" pair of binoculars. My first serious set was a pair of 10×50s, bought on the logic that more power had to be better. Out at the feeder and on the trail they were too heavy to hold up for long and too shaky to keep steady on a small, fast bird; every little hand-tremor was magnified, the image danced, and I kept missing the bird I was trying to watch. Switching to a lighter, steadier 8×42 was the moment it clicked. That lesson — match the binocular to your use, don't chase the biggest number — is the whole reason this site exists. The opinions here come from years behind the glass; the product specs come from manufacturer details and physics, not a lab test I'm pretending to have run. I keep those two things separate, always.
What the two numbers mean (8×42 and friends)
Every binocular is described by two numbers with an "×" between them — 8×42, 10×42, 7×50, 15×70. Once you can read them, half the confusion disappears. The first number is magnification: how many times closer an object appears. On an 8× pair, a hawk 80 yards away looks the size it would at 10 yards with your eyes. The second number is the objective lens diameter in millimetres — the width of the big front lenses. On an 8×42, the front lenses are 42mm across.
Here's the part the box never explains: the second number matters more than most beginners think. Magnification gets all the attention, but the objective is what gathers light, and light is what makes an image bright, sharp and steady enough to actually enjoy. A bigger objective pulls in more light, which is why a 50mm pair is brighter at dusk than a 25mm pair at the same magnification. It also makes the binocular bigger and heavier — the trade-off that runs through this whole guide. When you see two numbers, read them as a pair: how close (magnification) and how bright (objective), with weight as the price you pay for both.
Exit pupil: the number that decides brightness
If you learn one piece of "hidden" math, make it this one. Exit pupil is the width of the little circle of light that leaves each eyepiece and lands on your eye, measured in millimetres. You find it with simple division: objective ÷ magnification. An 8×42 gives 42 ÷ 8 = 5.25mm. A 10×42 gives 4.2mm. A 10×50 gives 5.0mm. A compact 8×25 gives just 3.1mm.
Why does it matter? Your own pupil opens and closes with the light — roughly 2–3mm in bright sun, widening to 5–7mm in deep dusk or darkness. If the binocular's exit pupil is at least as wide as your pupil, your eye sees a fully bright image. If it's smaller, you're looking through a narrower straw of light and the view is dimmer. So in daylight a 2–3mm exit pupil is plenty — which is why tiny compacts work fine at the beach or a ballgame. But at dawn, at dusk, or under the stars, you want 5mm or more, which is exactly why birders favour 8×42 and astronomers reach for 10×50 and bigger. A generous exit pupil also gives a more forgiving view: the image is less likely to "black out" at the edges when your hands move, so it feels steadier even before you think about weight. Exit pupil is the single best predictor of how a binocular performs in dim light, and it's the lesson my heavy first pair taught me the hard way.
Twilight factor: low-light detail
Exit pupil tells you about brightness; twilight factor is a companion number that hints at how much fine detail you can resolve when the light is poor. It's the square root of magnification multiplied by the objective: √(magnification × objective). An 8×42 works out to √336 ≈ 18.3, a 10×50 to √500 ≈ 22.4, and a giant 15×70 to √1050 ≈ 32.4.
A higher twilight factor suggests better low-light detail, which is why dawn-and-dusk hunting and backyard astronomy lean toward bigger objectives and a little more magnification — those are the moments when wringing out detail matters most. It's worth a caveat, though: twilight factor is a rough guide, not a verdict. It says nothing about the quality of the glass, the coatings, or the prisms, so a well-made 8×42 can out-perform a cheap 10×50 in real conditions despite the lower number. Treat exit pupil and twilight factor as two halves of the low-light picture — exit pupil for brightness, twilight factor for detail — and don't let either one alone make the decision.
Field of view: how much you can see
Field of view (FOV) is how wide a slice of the world you see through the binocular, usually given as feet at 1,000 yards (say, 330 ft) or as an angle in degrees. A wide field makes it dramatically easier to find a moving subject — a warbler flitting through a tree, a hawk riding a thermal — and to keep it in view once you have it. A narrow field feels like looking through a tube: you spend more time hunting for the bird than watching it.
Magnification is the main lever on field of view: more power almost always means a narrower field. That's a big part of why I'd point most birders to 8× over 10× — the wider field finds the bird. You'll also see apparent field of view, which is the real field multiplied by the magnification; it describes how expansive the view feels to your eye. The takeaway is simple: if you watch fast, close, moving subjects, prize a wide field, and remember that chasing more magnification quietly costs you the very field of view that helps you find what you're looking at.
Weight and stability: the rookie trap I fell into
This is the section I wish someone had sat me down for before I bought those 10×50s. The instinct every beginner has — including me — is that more power must be better. It isn't, and the reason is your own hands. Magnification multiplies the image, but it also multiplies every tiny tremor in your grip. At 8× a small shake is a small wobble; at 10× and beyond it becomes a dancing image that never settles, and on a giant 15×70 it's unusable without support.
Weight compounds it. A heavy pair pulls your arms down within a minute or two, the muscle fatigue adds its own shake, and you start lowering the binocular just when the bird finally lands. My 10×50s were both too powerful and too heavy, so I got the worst of both — a dim, dancing view I couldn't hold up, and I kept missing the bird. The fix wasn't a more expensive pair; it was a lighter, lower-power one. An 8×42 is brighter (5.25mm exit pupil), wider in field, and light enough to hold steady through a whole morning. A steady, bright image beats a shaky, dim one every single time you raise the glass. If your use genuinely needs high power — long-range glassing, astronomy — the answer is a tripod, not stronger forearms. Image-stabilized binoculars are the other route, trading weight and cost for a steady high-power view; the how binoculars work hub covers where they fit.
The use-case cheat sheet: spec by spec
Here's where it all comes together. Rather than rank "the best binocular," match the spec to the use — that's the entire idea behind BinoMatch. Spec by spec, here's what each use actually wants, and where to read more.
- Birding (8×42). Wide field to find the bird, 5.25mm exit pupil for shaded woods and dawn light, light enough to carry, close focus for warblers a few yards off. For most birders an 8×42 makes sense because it's the steady, bright, do-everything default. See the best binoculars for bird watching.
- Astronomy (10×50 or 15×70). Big objectives and a 5mm+ exit pupil to drink in faint starlight, more magnification to resolve the Moon's craters and Jupiter's moons. Beyond 10×50, plan on a tripod. See the best binoculars for stargazing.
- Hunting and low-light (10×42 or 10×50). A high twilight factor for the dawn and dusk windows when game moves, waterproof and fog-proof sealing, durability that survives a knock. See the best hunting binoculars.
- Marine (7×50). Low magnification so the view stays steady on a moving boat, a huge 7.1mm exit pupil for a bright, forgiving image, full waterproofing, often a built-in compass and reticle. See the hunting and marine binoculars hub.
- Travel and general (8×25 or 10×25 compact). Small and light enough to actually carry — the pair you have beats the pair in a drawer — accepting a smaller exit pupil because you'll mostly use them in daylight. See the best compact binoculars.
Roof versus porro, and what ED glass buys you
Inside every binocular, prisms flip the image right-way-up, and there are two designs. Roof prisms sit in a straight, slim barrel — the modern shape you picture when you think "binoculars." They're compact, light and easy to seal against water and fog, which is why nearly every current birding and travel pair is a roof. Porro prisms have the classic stepped, wide-bodied look; they often deliver more depth and a brighter image per dollar, and they're standard on budget pairs and on the big astronomy binoculars where size isn't the enemy.
For a do-everything pair you carry all day, roof usually wins on size and weight. For value, or for a 10×50 / 15×70 you'll put on a tripod anyway, porro still earns its place. You'll also see ED glass (extra-low-dispersion) on the spec sheet. ED elements cut chromatic aberration — the faint colour fringing around high-contrast edges, like a dark bird against bright sky — for a crisper, cleaner image. It's a genuine improvement and a fair reason to spend up, but it's a refinement, not a requirement: get the magnification, objective and weight right first, then treat ED glass as the upgrade that sharpens an already well-matched pair.
Budget tiers: what your money actually buys
You don't need to spend a fortune, but the very bottom of the market is a false economy — dim, soft, often not properly sealed. Spec by spec, here's roughly how the tiers shake out.
- Entry (around $70–150). The sweet spot for a first real pair. At this level an 8×42 from a known maker gives a bright, sharp, waterproof image that will genuinely serve birding, hikes and the backyard for years. This is where most beginners should land — not below it.
- Mid (around $150–400). Better glass and coatings, ED elements, lighter and tougher bodies, and a noticeably crisper image at the edges and in low light. The band to consider once you know you're hooked and you've settled on the spec your use wants.
- Premium (around $400 and up). The best coatings, ED or fluorite glass, wide flat fields and superb low-light performance. Real, but subject to diminishing returns — a well-chosen mid-tier pair matched to your use will out-perform a poorly chosen premium one every time.
The single biggest money mistake isn't spending too little — it's spending on the wrong spec. A $300 pair of high-power binoculars you can't hold steady is worse than a $120 8×42 you raise a hundred times a morning. Match the spec first; spend up second.
A word on the Sun
One hard safety rule, no exceptions: never look at the Sun through binoculars — not even for a second. The magnified, concentrated light causes permanent, instant eye damage. Binoculars are for the Moon, the planets and the night sky, never the Sun. For any solar or eclipse viewing, use only purpose-built, certified solar equipment, or watch at a properly equipped club event.
Where to go next
You now know more than most people who've owned three pairs: read the two numbers, check the exit pupil for brightness, glance at twilight factor for low-light detail, prize field of view to find your subject, and remember that a steady, light pair beats a powerful, heavy one. From here, pick the silo that matches your view — each one starts from a beginner-first hub — or let the binocular matcher do the matching for you.
Common questions
Frequently asked questions
What do the numbers on binoculars mean?
The two numbers on a binocular are magnification and objective lens diameter in millimetres. On an 8×42, the 8 means objects look eight times closer, and the 42 means each front lens is 42mm wide. Magnification decides how close things appear; the objective decides how much light the binocular gathers, which drives brightness and how steady the image looks.
What does exit pupil mean and why does it matter?
Exit pupil is the width of the beam of light leaving each eyepiece, in millimetres. You find it by dividing the objective by the magnification — an 8×42 gives 42 ÷ 8 = 5.25mm. A larger exit pupil means a brighter image in dim light and a more forgiving view that does not black out when your hands shake. In daylight a 2–3mm exit pupil is plenty; for dawn, dusk and the night sky you want 5mm or more.
Is 8x42 or 10x42 better for beginners?
For most people, 8×42 makes sense as a first pair because it is brighter, has a wider field of view, and is far easier to hold steady than 10×42. The extra magnification of 10×42 narrows the field, dims the image slightly, and magnifies every hand tremor. Choose 10× only if you mostly view at distance in open country and can brace or use a tripod.
What does twilight factor tell you?
Twilight factor is a rough guide to how much detail a binocular can resolve in low light. It is the square root of magnification multiplied by the objective — for a 10×50 that is √(10 × 50) ≈ 22.4. A higher twilight factor suggests better low-light detail, which is why dawn-and-dusk hunting and stargazing favour bigger objectives and a touch more magnification. It is a guide, not a guarantee, and it ignores glass quality.
Are roof prism or porro prism binoculars better?
Roof prism binoculars are slim, light and sealed, which is why most modern birding and travel pairs use them. Porro prism binoculars have the classic stepped shape, often deliver more depth and brightness per dollar, and are common in budget and giant astronomy binoculars. For a do-everything pair you carry all day, roof usually wins; for value or big-objective astronomy, porro still earns its place.
How much magnification do I really need?
More magnification is not automatically better. Past about 10×, the image gets harder to hold steady by hand, the field of view shrinks, and the picture dims. The honest rule is to use the lowest magnification that brings the view close enough, because a steady, bright image beats a shaky, dim one every time. For high-power astronomy binoculars like 15×70, plan on a tripod.